PETG flow
Test prints / PETG: strength and fits
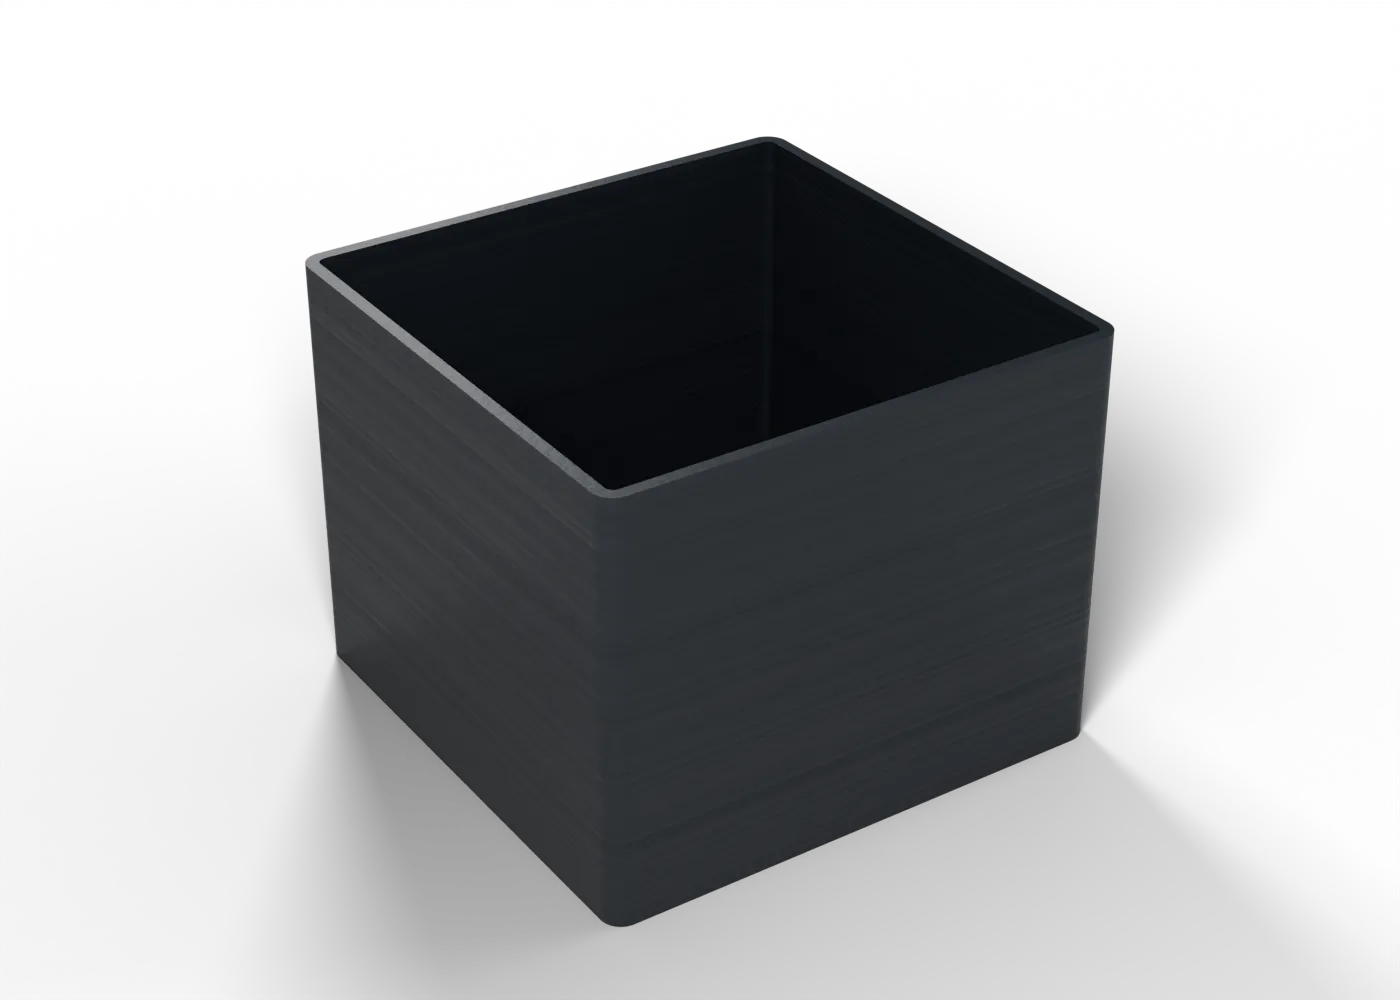
A single-wall cube: its wall should measure one extrusion width.
Toolpaths
Every extrusion move in the G-code, layer by layer. Drag the layer slider, scrub through the top layer, or play the print.
Toolpaths load when you open this view.
Read from the G-code that the printer gets. The clock adds each move at its programmed speed, without acceleration or travel, so it is shorter than the slicer's estimate.
Settings
On top of the stack that the print jobs load. The printer tuning page shows that stack.
| Printer | File | Changes |
|---|---|---|
| Prusa Core One+ | petg-flow (core-one-plus).bgcode | spiral_vase 1support_material 0support_material_auto 0perimeters 1top_solid_layers 0fill_density 0%bottom_solid_layers 3slowdown_below_layer_time 0enable_dynamic_overhang_speeds 0thin_walls 0perimeter_speed 40external_perimeter_speed 40small_perimeter_speed 40 |
Procedure
What it is for. It sets the extrusion multiplier for PETG. Over-extruded PETG is what makes bores tight.
Print. Print in the PETG you fly.
Measure. Measure the wall on all four faces, at mid-height, with calipers.
Pass. The wall equals the extrusion width, 0.45 mm. If it does not, new extrusion multiplier = 1.00 × 0.45 / measured.
Record. The four readings and the new extrusion multiplier.
In the tuning log
- Flow and pressure advanceTo test
Comments
Comment on the whole page here, or on one section or step with the button beside it.