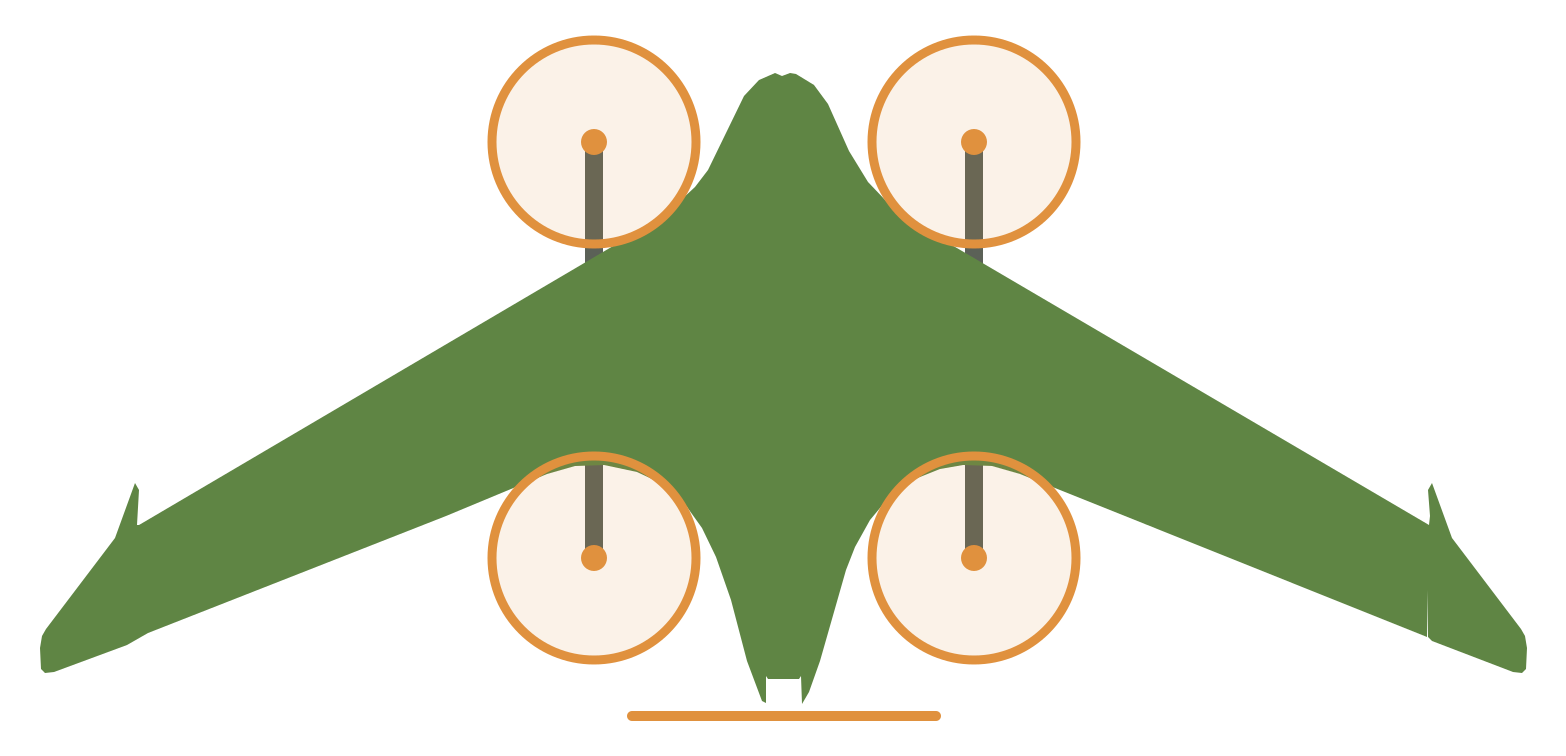
Fit gauge
Test prints / PETG: strength and fits
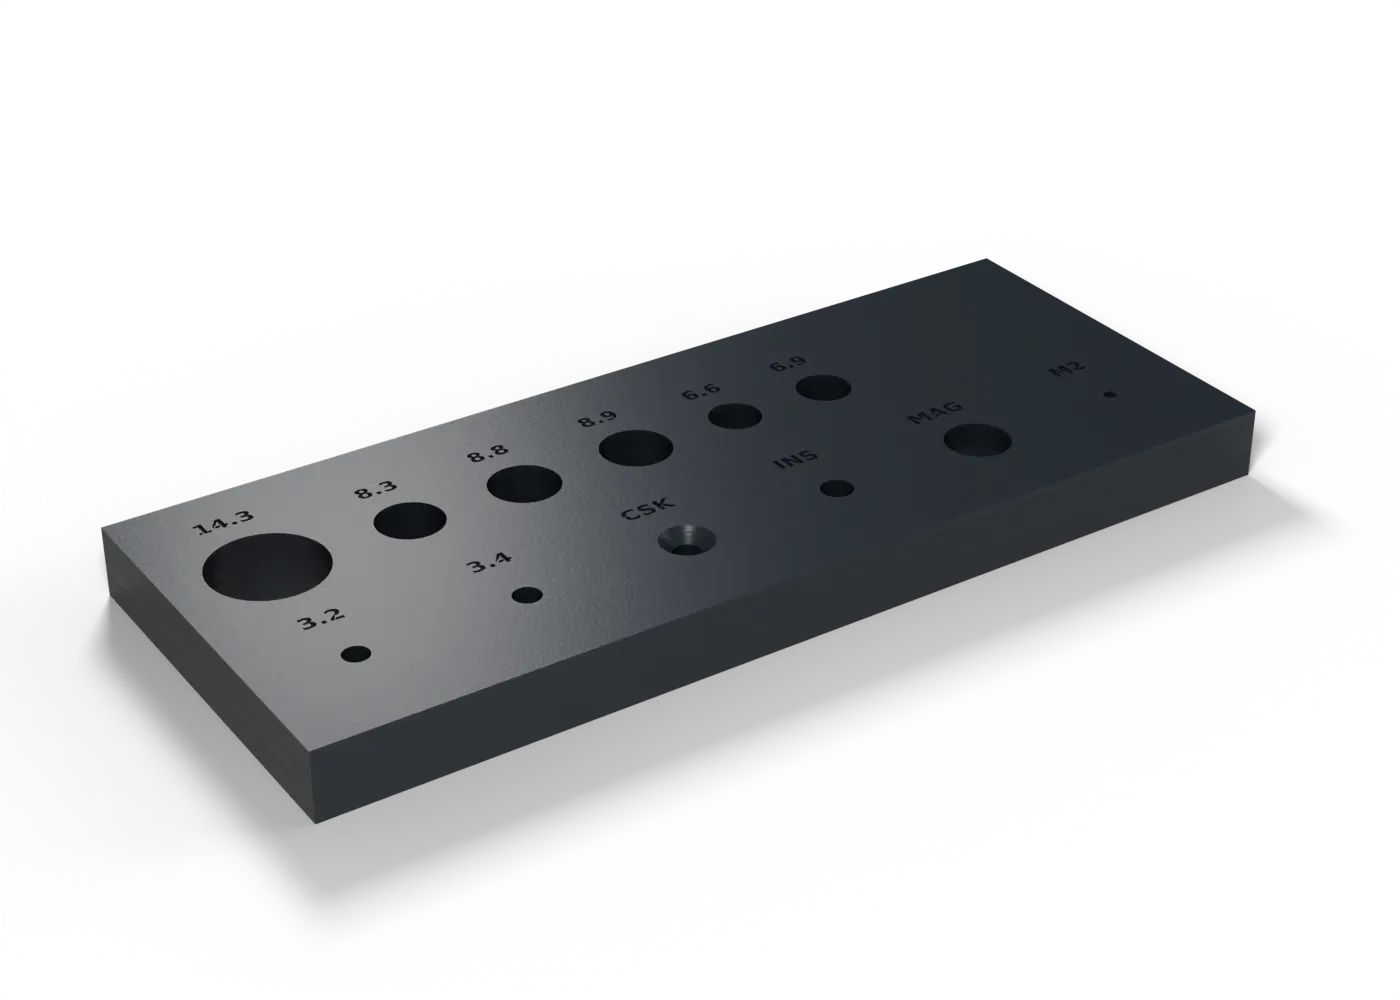
Spar bores, M3 clearance and countersink, insert hole, magnet pocket and M2 pilot on one plate.
Toolpaths
Every extrusion move in the G-code, layer by layer. Drag the layer slider, scrub through the top layer, or play the print.
Toolpaths load when you open this view.
Read from the G-code that the printer gets. The clock adds each move at its programmed speed, without acceleration or travel, so it is shorter than the slicer's estimate.
Procedure
What it is for. It sets the hole sizes for the PETG parts: spar bores, screw holes, countersinks, inserts, magnet pockets and M2 pilots.
Print. Print it flat.
Measure. Try each fit with the real part: the 14, 8 and 6 mm carbon tubes in their bores, an M3 screw in 3.2 and 3.4, an M3 countersunk screw flush in CSK, an M3 × 5.7 insert in INS (set it with the iron), an 8 × 3 mm magnet in MAG, and an M2 screw in the 1.6 mm pilot.
Pass. No pass mark. Each fit is tight, right or loose.
Record. Tight, right or loose for each fit.
In the tuning log
- Hole and bore fitsTo test
Comments
Comment on the whole page here, or on one section or step with the button beside it.