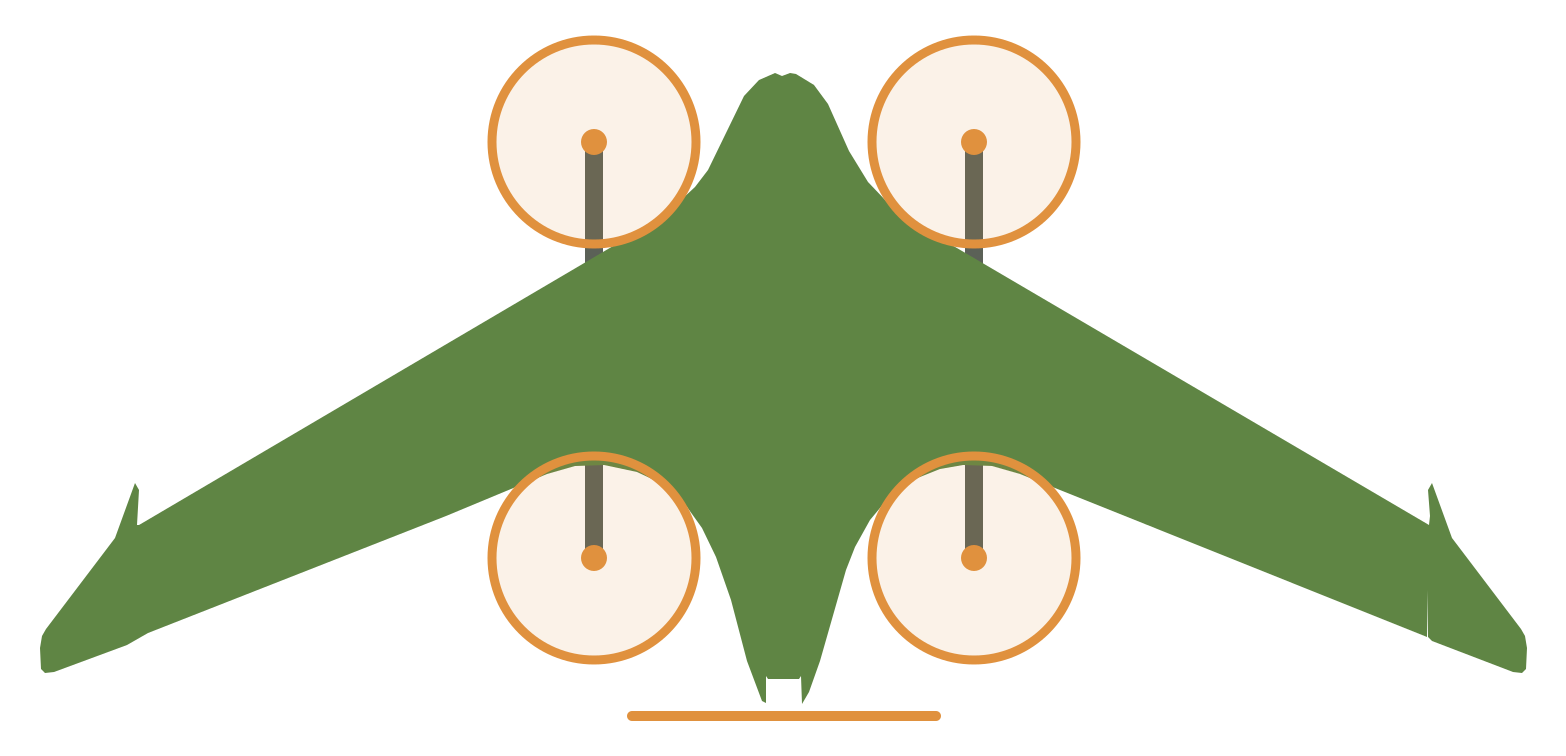
Wing clip
Test prints / PETG: strength and fits
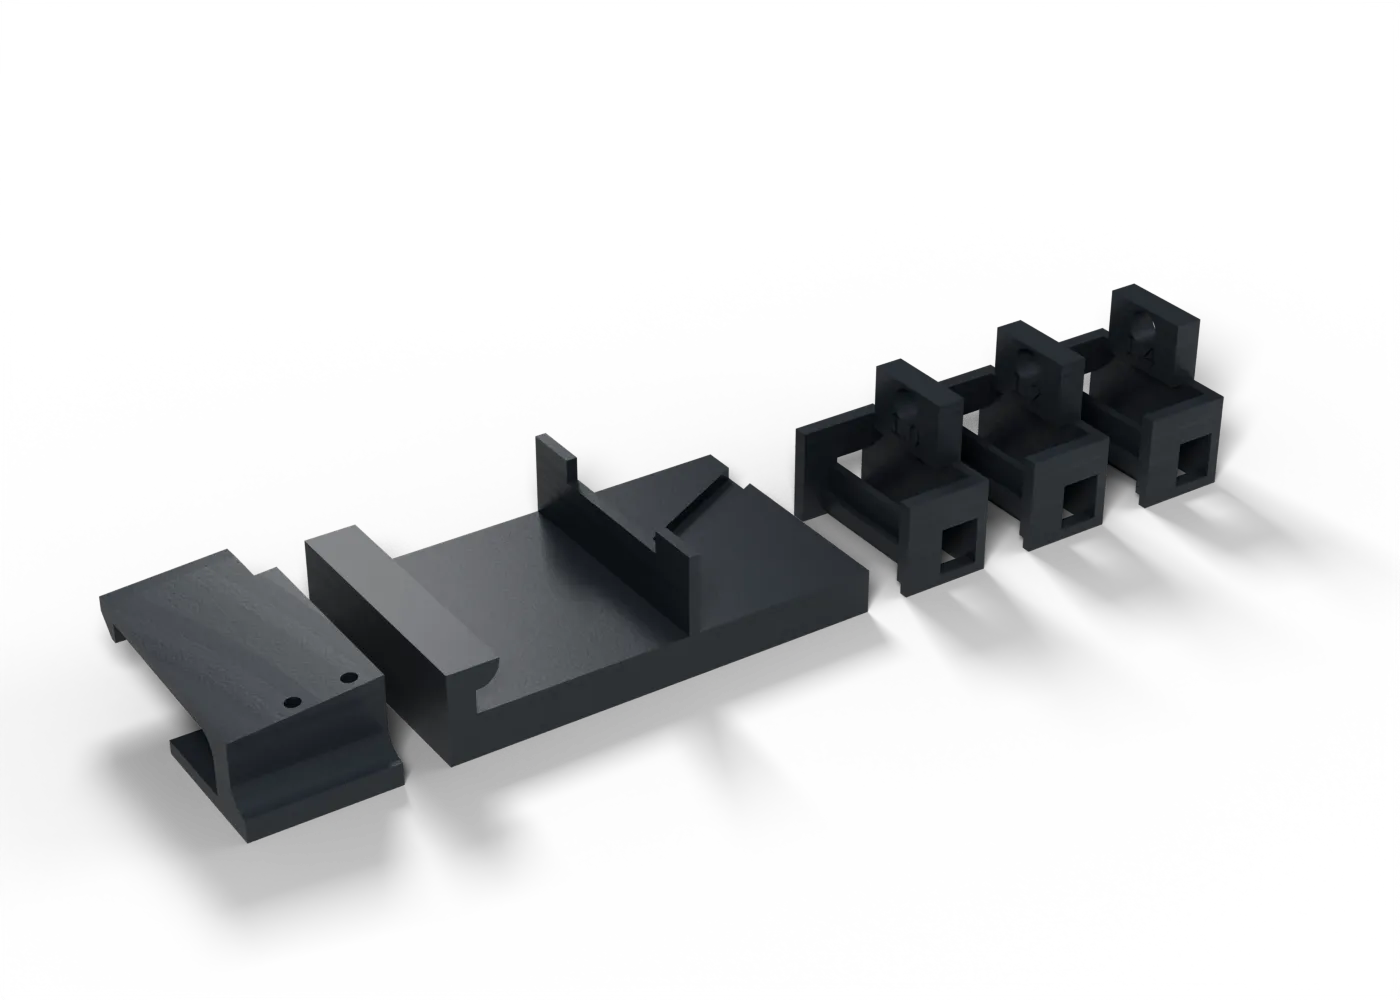
Our wing clip on a base with 1.0, 1.2 and 1.4 mm catches: does it snap, hold 25 N and release by fingernail?
Toolpaths
Every extrusion move in the G-code, layer by layer. Drag the layer slider, scrub through the top layer, or play the print.
Toolpaths load when you open this view.
Read from the G-code that the printer gets. The clock adds each move at its programmed speed, without acceleration or travel, so it is shorter than the slicer's estimate.
Settings
On top of the stack that the print jobs load. The printer tuning page shows that stack.
| Printer | File | Changes |
|---|---|---|
| Prusa Core One+ | petg-wing-clip (core-one-plus).bgcode | brim_width 3 |
Procedure
What it is for. Our wing clip (th-blender W44.1) holds the wing on its spar with a sprung hook that catches 1.2 mm behind the Wing Inner Plate. The test shows that the hook snaps shut by itself, holds the wing, and releases by fingernail, and it compares 1.0, 1.2 and 1.4 mm of catch. Do it before the clip is trusted on the aircraft.
Print. Print the set in PETG on the Core One+. It has five parts: the clip, the base and three catch blocks, each engraved with its catch. The clip and the catch blocks print with supports; the base has none. On the clip the supports hold the spring arm’s underside and the hook’s flat underside, and none touch the hook’s ramp or its square face (support blockers). Remove the supports gently and do not bend the arm. The arm’s underside touches nothing in the test. The hook’s flat underside rests on the catch’s seat with 0.8 mm of preload, so a support mark there makes the first engagement feel stiffer or notchy: before the first snap, dress that flat with a fingernail or one light pass of fine abrasive. Judge the ramp, which has no support marks, by feel.
Assemble.
- Put the clip into the base 3 mm outboard and slide it inboard under the lip.
- Fix it with two M2 x 16 screws down its dowel holes.
- With no catch block in, measure the hook height with calipers through the open outboard end, from the base’s top to the hook’s flat underside (7.6 mm as drawn). Record it as H0.
Snap. Put the 1.2 catch block’s key in the groove at the base’s outboard end, and push it inboard until it touches the stop. The hook must ride up the ramp and snap down behind it. Lift the hook to take the block out. Do 20 snaps.
Hold.
- Clamp the base.
- With the hook shut, hang a spring scale on the catch block’s tab.
- Pull along the groove (outboard, 28° aft of the base’s long edge, in the base’s plane) to 25 N, and hold for 10 s. A small gap under the hook from about 15 N is expected. The hook must not open.
- Then pull slowly to the load at which it opens, or to 60 N. Record that load.
Release. With the catch block home, lift the hook’s free end with a fingernail until the block slides out along the groove: about 2.3 mm of lift and about 6 N (ESTIMATES). The coupon’s fingernail gap is more open than the aircraft’s.
Repeat the hold and the release with the 1.0 and 1.4 catch blocks, on the same clip.
Measure. Measure the hook height again (H1). Look at the 3 mm root fillet under the arm for white marks or cracks, by eye and under a light at a low angle.
Pass. H1 within 0.1 mm of H0; no white marks or cracks at the root; every snap closes by itself; no hook opens at 25 N; the release works by fingernail. Expected opening loads along the groove, with no friction: 35, 40 and 46 N for 1.0, 1.2 and 1.4 (ESTIMATES, th-blender).
Record. H0 and H1; pass or fail for each catch; the load at which the hook lifts and the load at which it opens, for each catch; any mark at the root. Send the catch Ryan chooses to th-blender: it sets the clip and the plate.
Comments
Comment on the whole page here, or on one section or step with the button beside it.